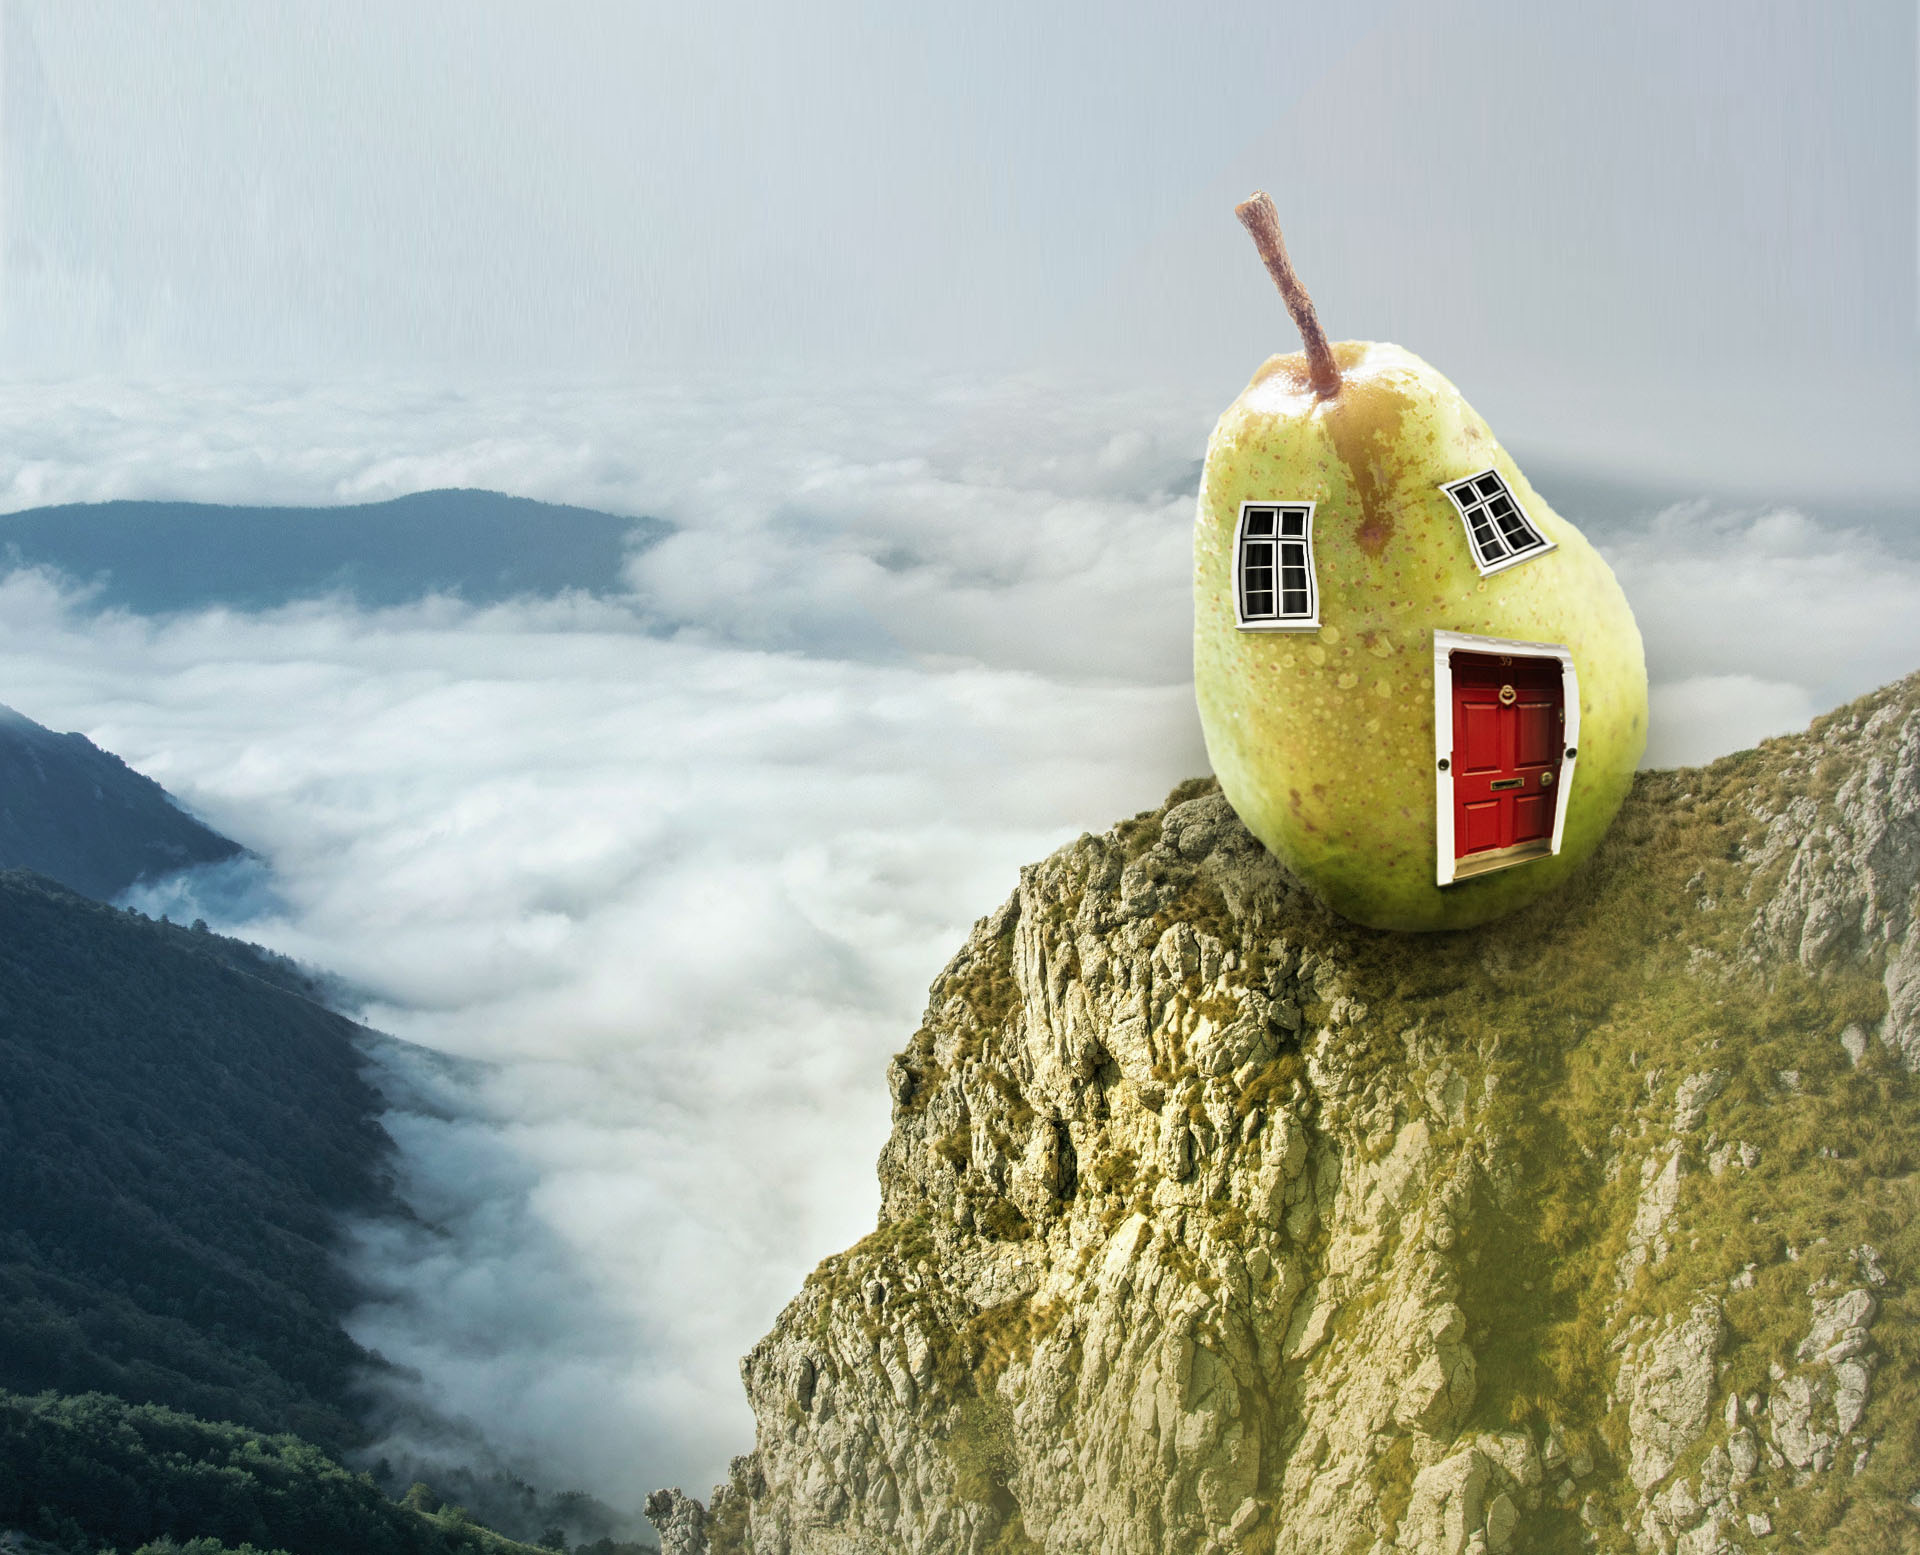
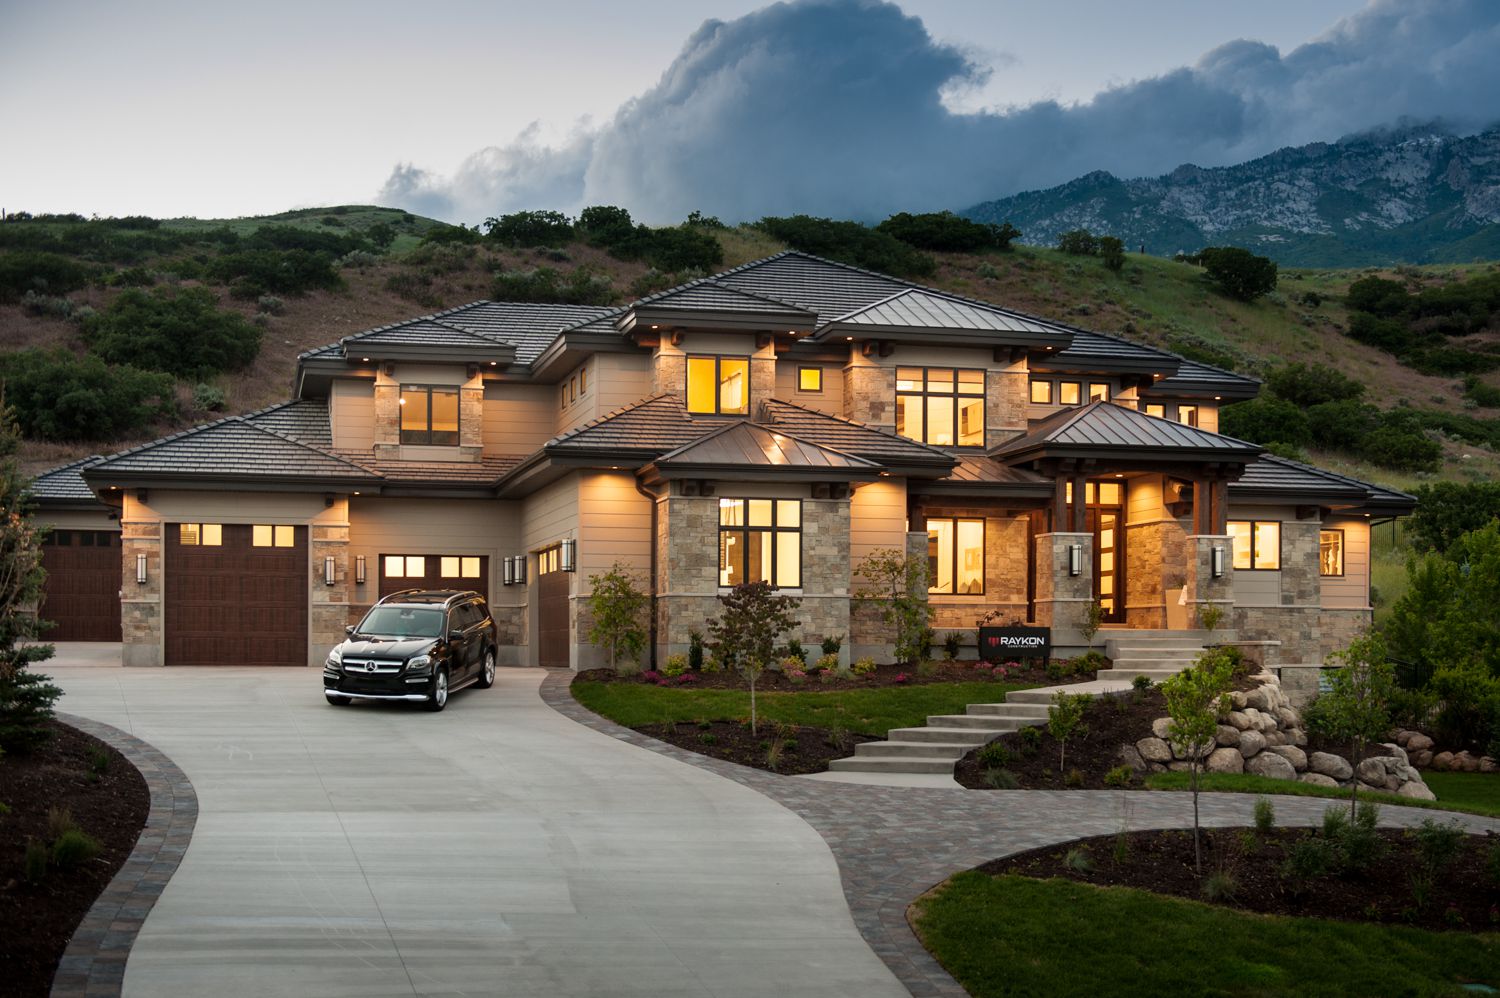
Hdr real estate image retouching is a photographic technique for architectural and interior photos that make photos vivid and clear. High Dynamic Range allows you to fuse divergent exposures, photos of the particular location captured at contrasting shutter speeds into a composite image composed of the best light information of each exposure.
10 Hdr real estate image retouching photo tips and tricks
 Here are 10 hdr editing tips and tricks:
- Shoot in RAW: When capturing images for real estate, shoot in RAW format to retain maximum image information and flexibility during post-processing.
- Bracketing: Use bracketing to capture a series of images at different exposures. This will provide you with a range of exposures to create a well-exposed HDR image later on.
- Choose the Right HDR Software: There are several HDR software options available, such as Adobe Photoshop, Photomatix, or Aurora HDR. Experiment with different software to find the one that suits your workflow and style.
- Merge Exposures: Use HDR software to merge your bracketed exposures into a single HDR image. Adjust the blending options to create a natural-looking result.
- Tone Mapping: After merging the exposures, apply tone mapping to enhance details and colors. Be careful not to overdo it, as excessive tonal adjustments can result in an unrealistic appearance.
- Correct Lens Distortion: Real estate images often suffer from lens distortion. Use tools like the Lens Correction filter in Photoshop or dedicated lens correction software to straighten lines and correct distortion.
- Remove Chromatic Aberration: Check for chromatic aberration, which appears as color fringing around high-contrast edges. Use software tools to remove or reduce it for a cleaner image.
- Adjust White Balance: Ensure accurate white balance by adjusting temperature and tint settings. This will help maintain the correct color representation of the scene.
- Retouching and Enhancements: Use basic retouching techniques to clean up any distractions in the image. Remove dust spots, sensor spots, or other imperfections. Enhance specific areas like sky, foliage, or interiors to bring out their best features.
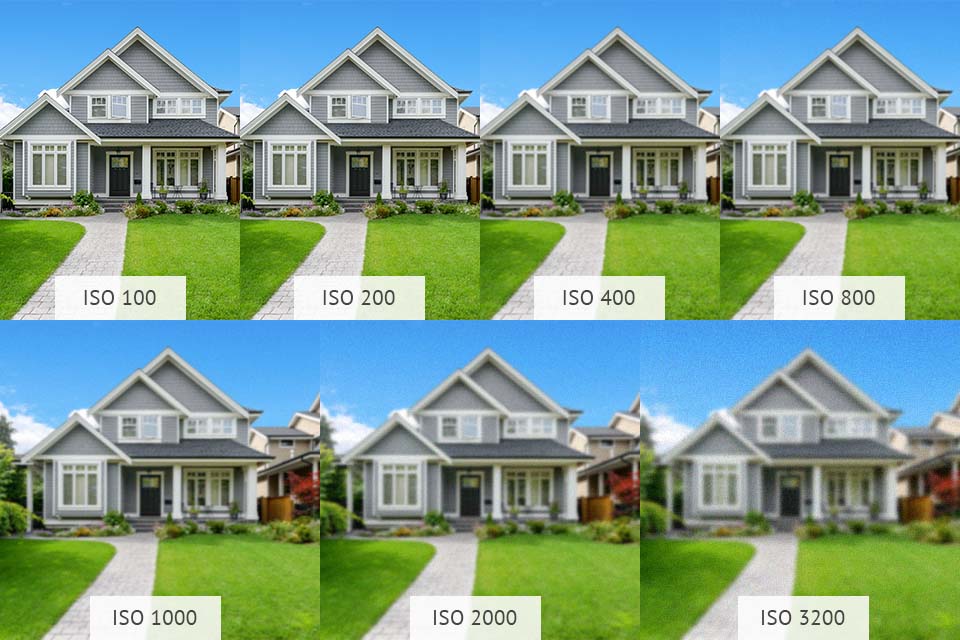
- Sharpening and Noise Reduction: Apply selective sharpening to enhance important details without introducing artifacts. Use noise reduction techniques to reduce noise in the image, especially in low-light situations.
Remember, the goal of HDR real estate image retouching is to create a natural and appealing representation of the property while maintaining accurate colors and details. Experiment with different techniques and find a balance that suits your style and the requirements of the client.
 Hdr photo editor
 Hdr photo editor
There are several Hdr photo editors available that can help you enhance and edit your photos with extended dynamic range. Here are a few popular HDR photo editors:
- Adobe Photoshop: Adobe Photoshop is a powerful image editing software that offers a wide range of tools and features for HDR editing. It allows you to merge multiple exposures to create HDR images and provides various adjustment options for tone mapping and color correction.
- Aurora HDR: Aurora HDR is a dedicated HDR photo editor developed by Skylum. It offers advanced HDR algorithms and a user-friendly interface. With Aurora HDR, you can merge multiple exposures, adjust tone mapping, enhance colors, and apply various effects to create stunning HDR images.
- Photomatix Pro: Photomatix Pro is a popular HDR software that specializes in merging multiple exposures and creating HDR images. It provides various tone mapping algorithms and adjustment options to control the look and feel of your HDR photos.
- Luminance HDR: Luminance HDR is an open-source HDR editor that allows you to merge exposures and adjust tone mapping to create HDR images. It offers a range of tools and features for HDR editing and is available for free.
- Nik Collection: The Nik Collection by DxO includes a set of powerful plugins that can be used with software like Adobe Photoshop, Adobe Lightroom, or Adobe Photoshop Elements. The collection includes the HDR Efex Pro plugin, which provides advanced HDR merging and editing capabilities.
These are just a few examples of how edit foto hdr available in the market. Depending on your needs and preferences, you can choose the one that suits you best.
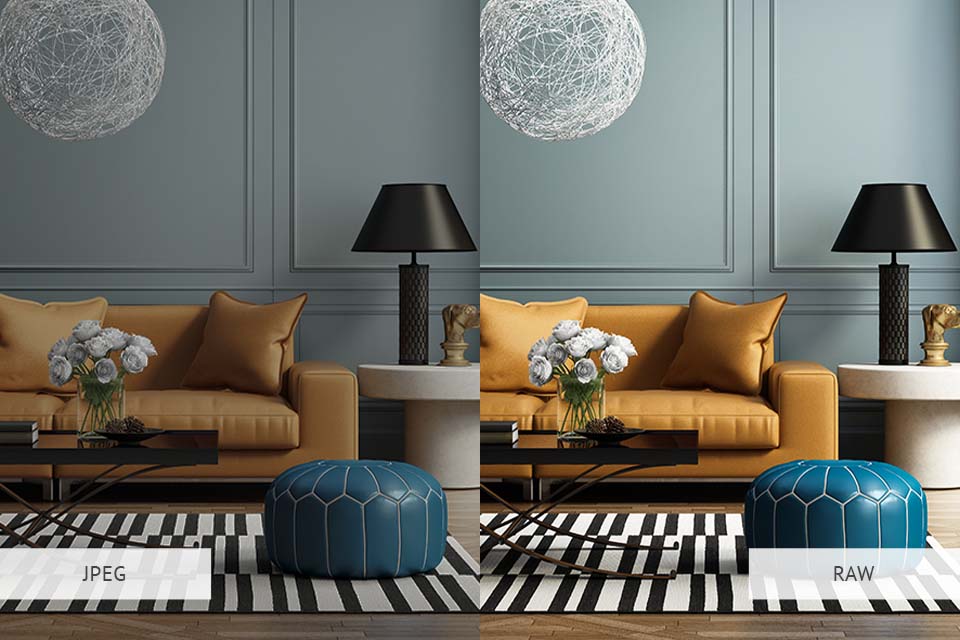 Photo effects hdr
Here how to achieve hdr photo editing effects using popular photo editing software like Adobe Photoshop or mobile apps like Snapseed or Lightroom Mobile. Here’s a general overview of the process to edit hdr:
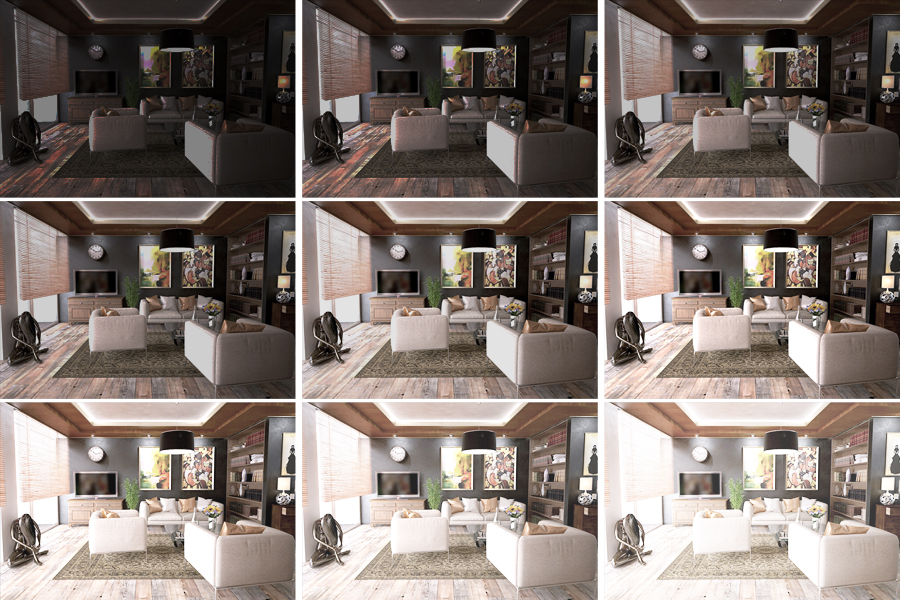
- Capture bracketed exposures: Take multiple shots of the same scene at different exposure levels. Typically, you’ll need an underexposed, properly exposed, and overexposed image. Use a tripod to keep the camera steady.
- Merge the exposures: Open your photo editing software and import the bracketed exposures. Look for the HDR or Merge to HDR feature and follow the instructions to merge the images into a single HDR image.
- Adjust tone mapping: Once the HDR image is generated, you’ll have more details in both the shadows and highlights. Experiment with the tone mapping options to balance the exposure and bring out the desired details and colors. Tone mapping allows you to control the overall look of the image.
- Fine-tune adjustments: After the initial tone mapping, you can further refine the image by adjusting specific settings like contrast, saturation, clarity, and sharpness. These adjustments will help enhance the overall appearance of the photo and bring out the details.
- Save and export: Once you’re satisfied with the adjustments, save the final image in a suitable format (such as JPEG or TIFF) and export it for sharing or printing.
Remember, the specific steps and options may vary depending on the software or app you’re using, so refer to the respective documentation or online tutorials for detailed instructions.
Hdr photoshop
 HDR (High Dynamic Range) photography is a technique used to capture a wide range of tones in a single image, from the darkest shadows to the brightest highlights. This is achieved by taking multiple exposures of the same scene at different exposure levels and then combining them to create a final image with enhanced dynamic range.
Photoshop is a powerful software that can be used to create HDR images. Here’s a general overview of the process:
- Capture bracketed exposures: To create an HDR image, you need multiple photos of the same scene taken at different exposure levels. Typically, you would capture three or more images: one properly exposed, one underexposed, and one overexposed. Some cameras have an auto-bracketing feature that can automatically capture these exposures.
- Import images into Photoshop: Open Photoshop and go to “File” > “Scripts” > “Load Files into Stack.” This will allow you to select and import the bracketed exposures into separate layers in Photoshop.
- Align the images (if needed): Sometimes, the bracketed exposures may have slight misalignment due to camera movement. If necessary, select all the layers, go to “Edit” > “Auto-Align Layers” and choose the appropriate alignment method.
- Create HDR image: With the layers selected, go to “Edit” > “Auto-Blend Layers.” In the pop-up window, choose “HDR” as the blending method and make sure “Align Images” is checked. Click “OK” to let Photoshop merge the exposures into an HDR image.
- Adjust the HDR settings: After the HDR image is created, you can make adjustments to achieve the desired look. Go to “Image” > “Adjustments” > “HDR Toning” to access various settings like Exposure, Gamma, Detail, and more. Experiment with these settings to get the desired tone mapping and dynamic range.
- Finishing touches: Once you’re satisfied with the HDR adjustments, you can further process the image using Photoshop’s regular editing tools. This may include adjusting levels, curves, colors, sharpness, and any other adjustments you typically make to enhance your images.
- Save or export the final image: Once you’re done editing, save your HDR image in a suitable file format such as TIFF or PSD to preserve the high-quality data.
It’s important to note that the exact steps and options may vary slightly depending on the version of Photoshop you are using, as new features and updates are introduced over time.
Photoshop hdr merge
 To merge multiple exposures into an HDR (High Dynamic Range) image using Adobe Photoshop, you can follow these steps:
- Launch Adobe Photoshop and open the program.
- Go to “File” in the menu bar and select “Automate.”
- From the drop-down menu, choose “Merge to HDR Pro.” This will open the HDR Pro dialog box.
- In the HDR Pro dialog box, click on the “Browse” button or drag and drop your exposure bracketed images (usually in RAW format) into the dialog box. Select the images you want to merge and click “Open.”
- After the images are loaded, make sure the “Attempt to Automatically Align Source Images” option is selected. This helps align the images if there was any camera movement during the bracketed shots.
- Adjust the “Remove Ghosts” option if necessary. Ghosting can occur when there are moving objects in the scene, and this option helps reduce their appearance.
- Set the “Mode” to either “32-bit” or “16-bit.” Choosing 32-bit mode allows for a wider dynamic range, while 16-bit mode is more compatible with standard editing workflows.
- Click on the “Tone and Detail” button to access additional settings. Here you can adjust the HDR settings like exposure, shadows, highlights, saturation, etc., to achieve the desired look for your image.
- Once you’re satisfied with the settings, click “OK” to start the HDR merging process. Photoshop will then merge the exposures and generate the HDR image.
- After the merging process is complete, you can further edit the resulting HDR image using the various tools and adjustments available in Photoshop.
- Finally, save your merged HDR image by going to “File” > “Save” or “Save As” and choose the desired file format (e.g., JPEG, TIFF, etc.) and location on your computer.
That’s it! You have successfully merged multiple exposures into an HDR image using Adobe Photoshop.
How do I create an hdr image?
Creating an HDR (High Dynamic Range) image typically involves capturing multiple exposures of the same scene and then merging them together using specialized software. Here’s a step-by-step guide to help you create an HDR image:
- Equipment:
- Digital camera: Use a camera that allows manual control over exposure settings, such as aperture, shutter speed, and ISO.
- Tripod: To ensure the camera remains steady between shots.
- Remote shutter release (optional): This helps minimize camera shake when capturing exposures.
- Scene Setup:
- Choose a scene with a wide range of brightness levels, such as a landscape with both dark shadows and bright highlights.
- Set up your camera on a tripod to keep it stable throughout the process.
- Disable any automatic settings that can vary between exposures, such as autofocus and auto white balance.
- Exposure Bracketing:
- Enable the exposure bracketing feature on your camera. This setting allows you to take a series of shots at different exposure levels.
- Set the bracketing range based on your camera’s capabilities. A typical range is ±2 or ±3 stops, but you can adjust it depending on the scene’s dynamic range.
- Take at least three shots: one properly exposed, one underexposed (dark), and one overexposed (bright). Some cameras offer an auto-bracketing mode that automatically captures the series of exposures.
- Image Processing:
- Transfer the captured images to your computer.
- Use HDR software to merge the exposures into a single HDR image. There are various software options available, such as Adobe Photoshop, Photomatix Pro, or Aurora HDR.
- Open the software and import the bracketed exposures.
- Follow the software’s instructions to align and merge the images. This process combines the properly exposed areas from each image to create a final HDR image with an extended dynamic range.
- Adjustments and Tone Mapping:
- After merging the images, you’ll likely have a 32-bit HDR file. To view and edit it, you’ll need to apply a technique called tone mapping.
- Use the tone mapping function in your HDR software to adjust the appearance of the image.
- Experiment with different settings to achieve the desired look. Tone mapping allows you to control the overall brightness, contrast, saturation, and other parameters to create a visually appealing result.
- Be mindful not to over-process the image, as excessive adjustments can lead to unrealistic or unnatural results. Strive for a balance between retaining detail and creating a pleasing aesthetic.
- Save and Export:
- Once you’re satisfied with the adjustments, save the final HDR image in a suitable format, such as TIFF or JPEG.
- Export the image to the desired resolution and color space suitable for your intended use, whether it’s for printing or online sharing.
Remember that creating high-quality HDR images often involves practice and experimentation. As you become more experienced, you’ll develop an eye for capturing and processing HDR images effectively.
Frequently Asked Questions (FAQs)
How does Hdr real estate image retouching enhance property images? Hdr real estate image retouching enhances property images by balancing exposure levels, highlighting details, and creating visually stunning visuals that leave a lasting impression on potential buyers.
Is Hdr real estate image retouching suitable for all types of properties? Yes, Hdr real estate image retouching is versatile and suitable for various property types, from residential homes to commercial spaces. It can adapt to different architectural styles and lighting conditions.
What challenges are commonly faced in Hdr real estate image retouching? Common challenges include finding the right balance between realism and enhancement, managing image noise, and ensuring the final result aligns with the property’s true characteristics.
Can Hdr real estate image retouching be done without professional software? While basic retouching can be done with some software, achieving high-quality Hdr results often requires professional-grade software and tools to ensure precision and control.
How long does it take to complete Hdr real estate image retouching for a set of property photos? The time required for Hdr real estate image retouching depends on factors like the number of images, complexity, and the desired level of enhancement. A professional service provider can give a more accurate estimate based on specific requirements.
Is Hdr real estate image retouching a cost-effective investment for property marketing? Yes, Hdr real estate image retouching is a cost-effective investment. The enhanced visual appeal attracts more potential buyers, ultimately increasing the chances of a property being sold or rented.
Conclusion
Hdr real estate image retouching is undeniably a transformative force in the world of property marketing. By mastering the art of balancing realism with enhancement, understanding lighting dynamics, and utilizing professional tools, one can unlock the full potential of this technique. Elevate your property listings, stand out in the market, and leave a lasting impression on potential buyers with the magic of Hdr real estate image retouching.