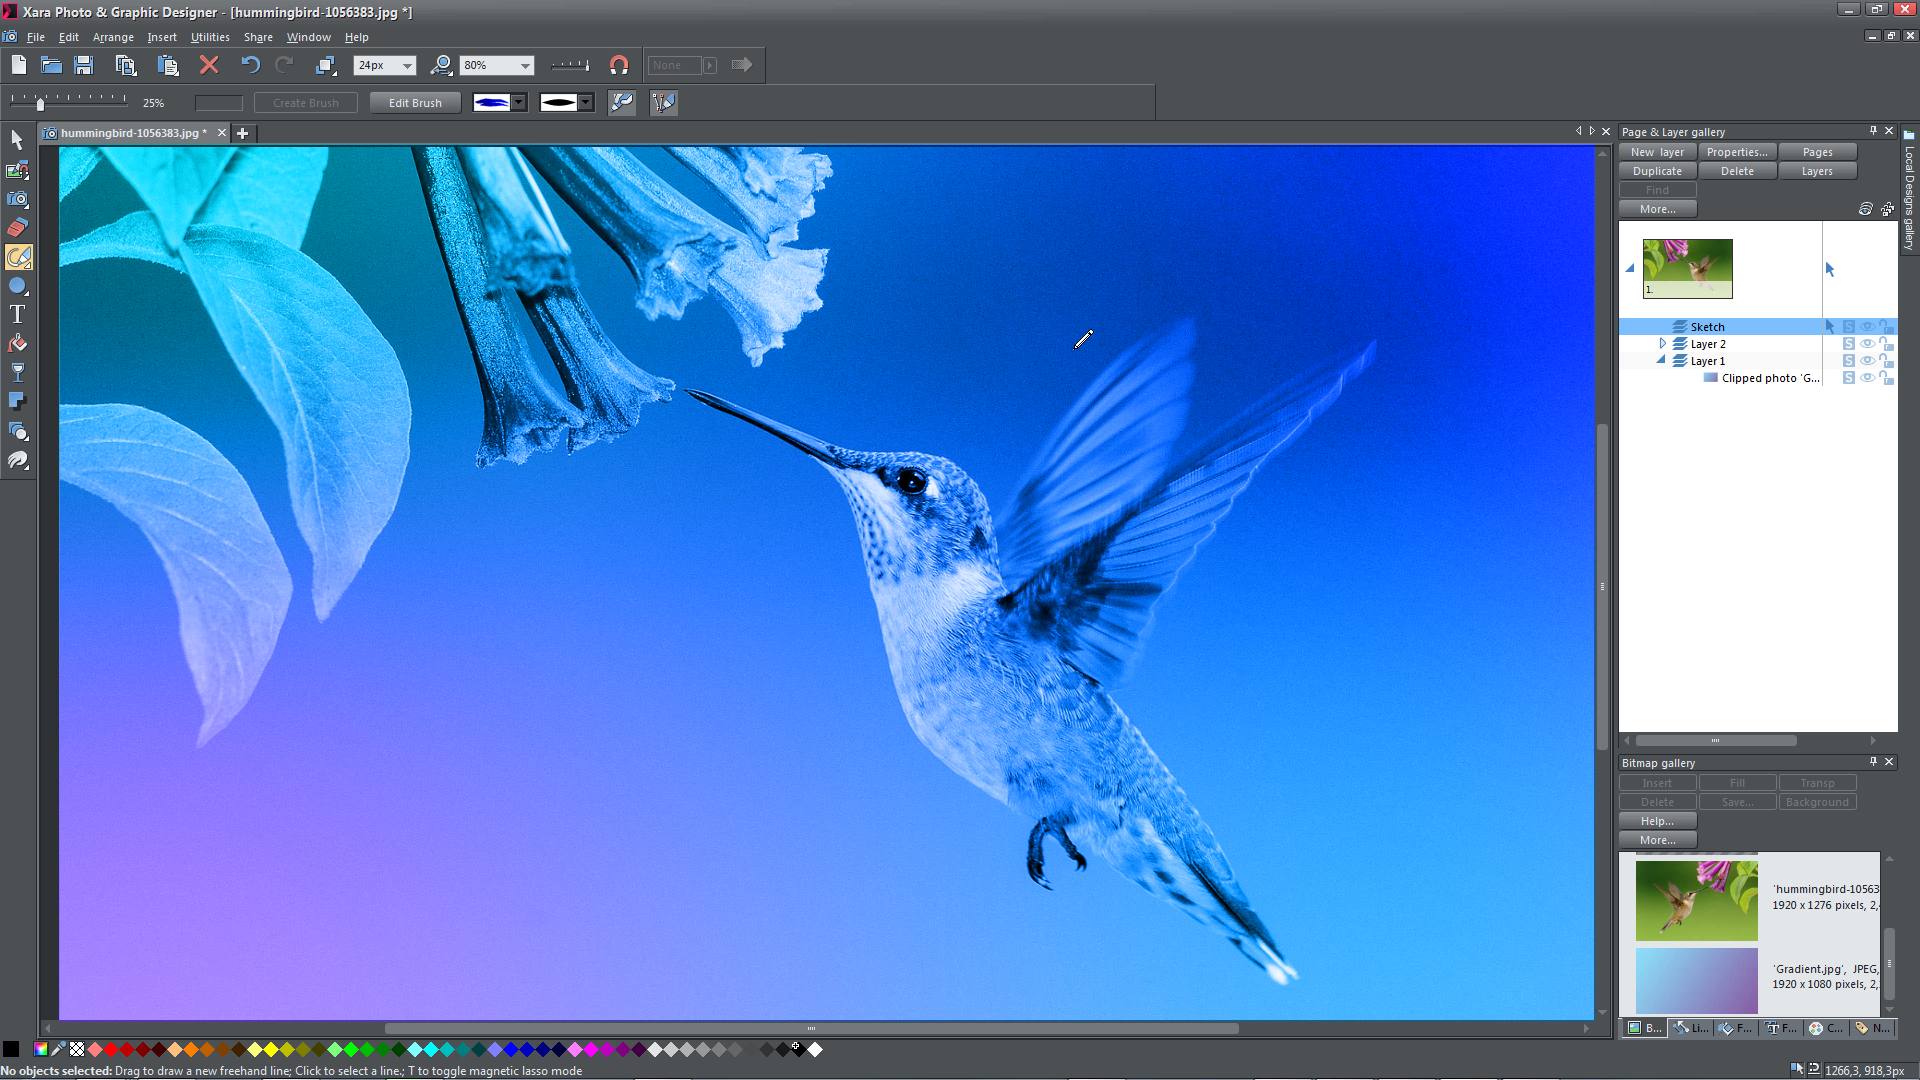
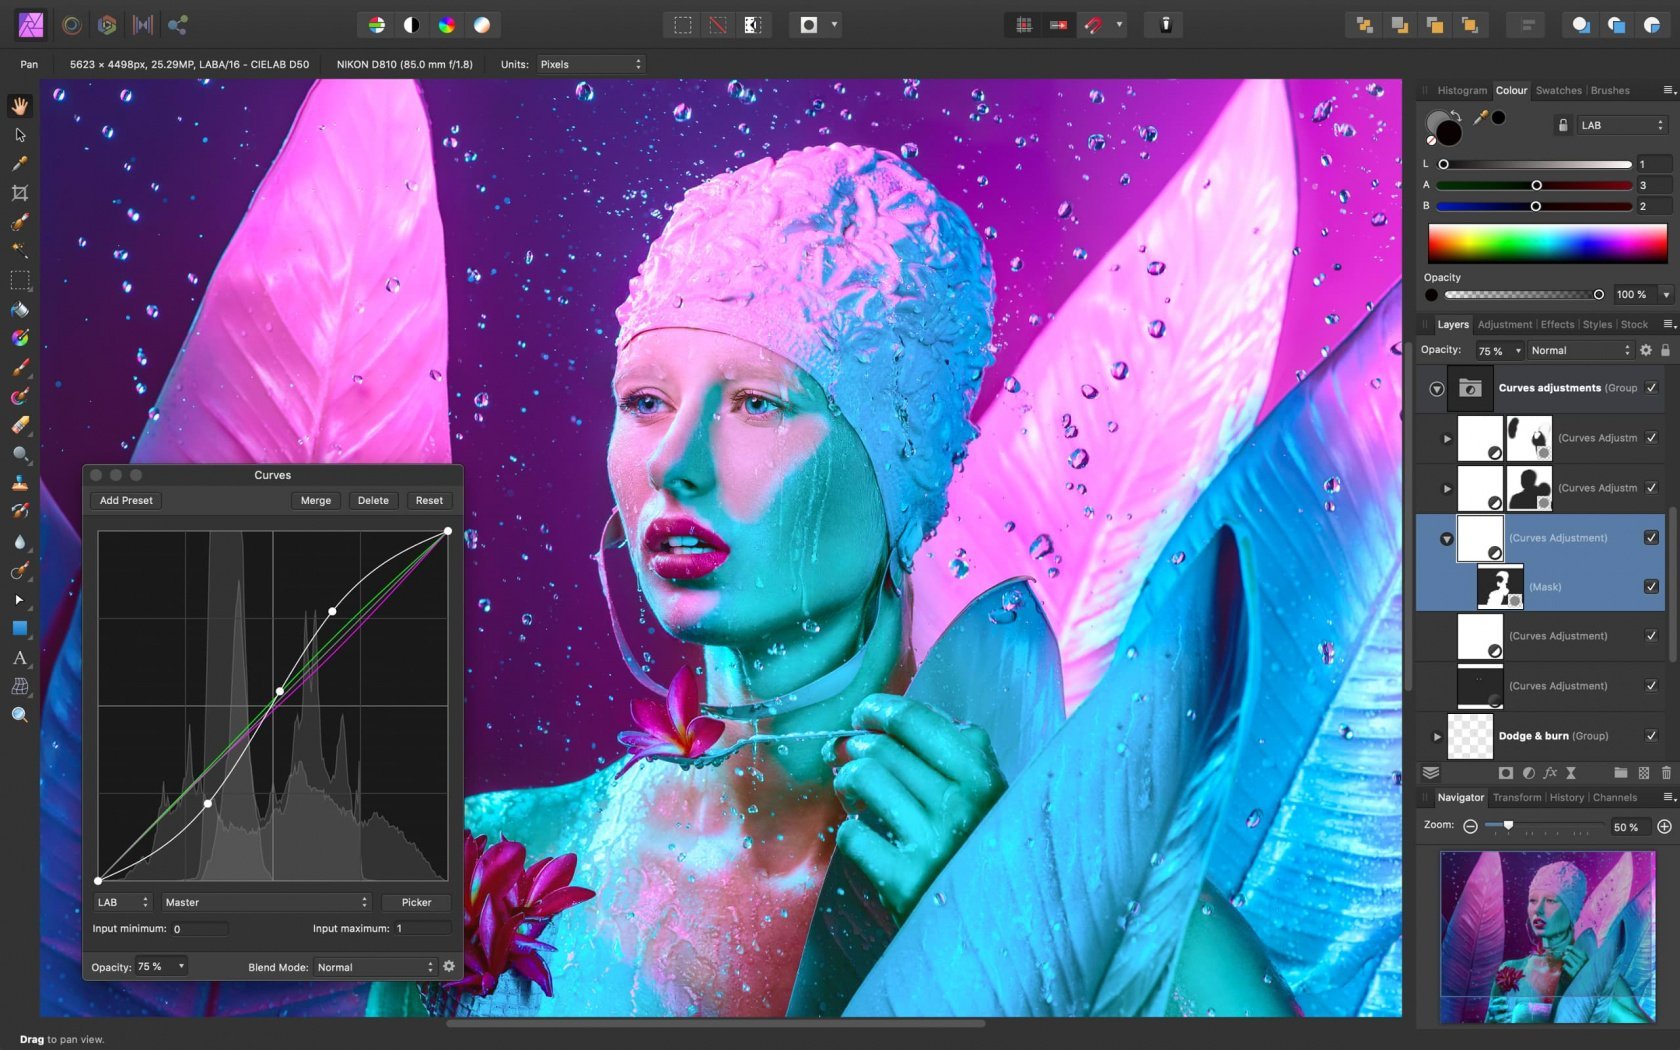
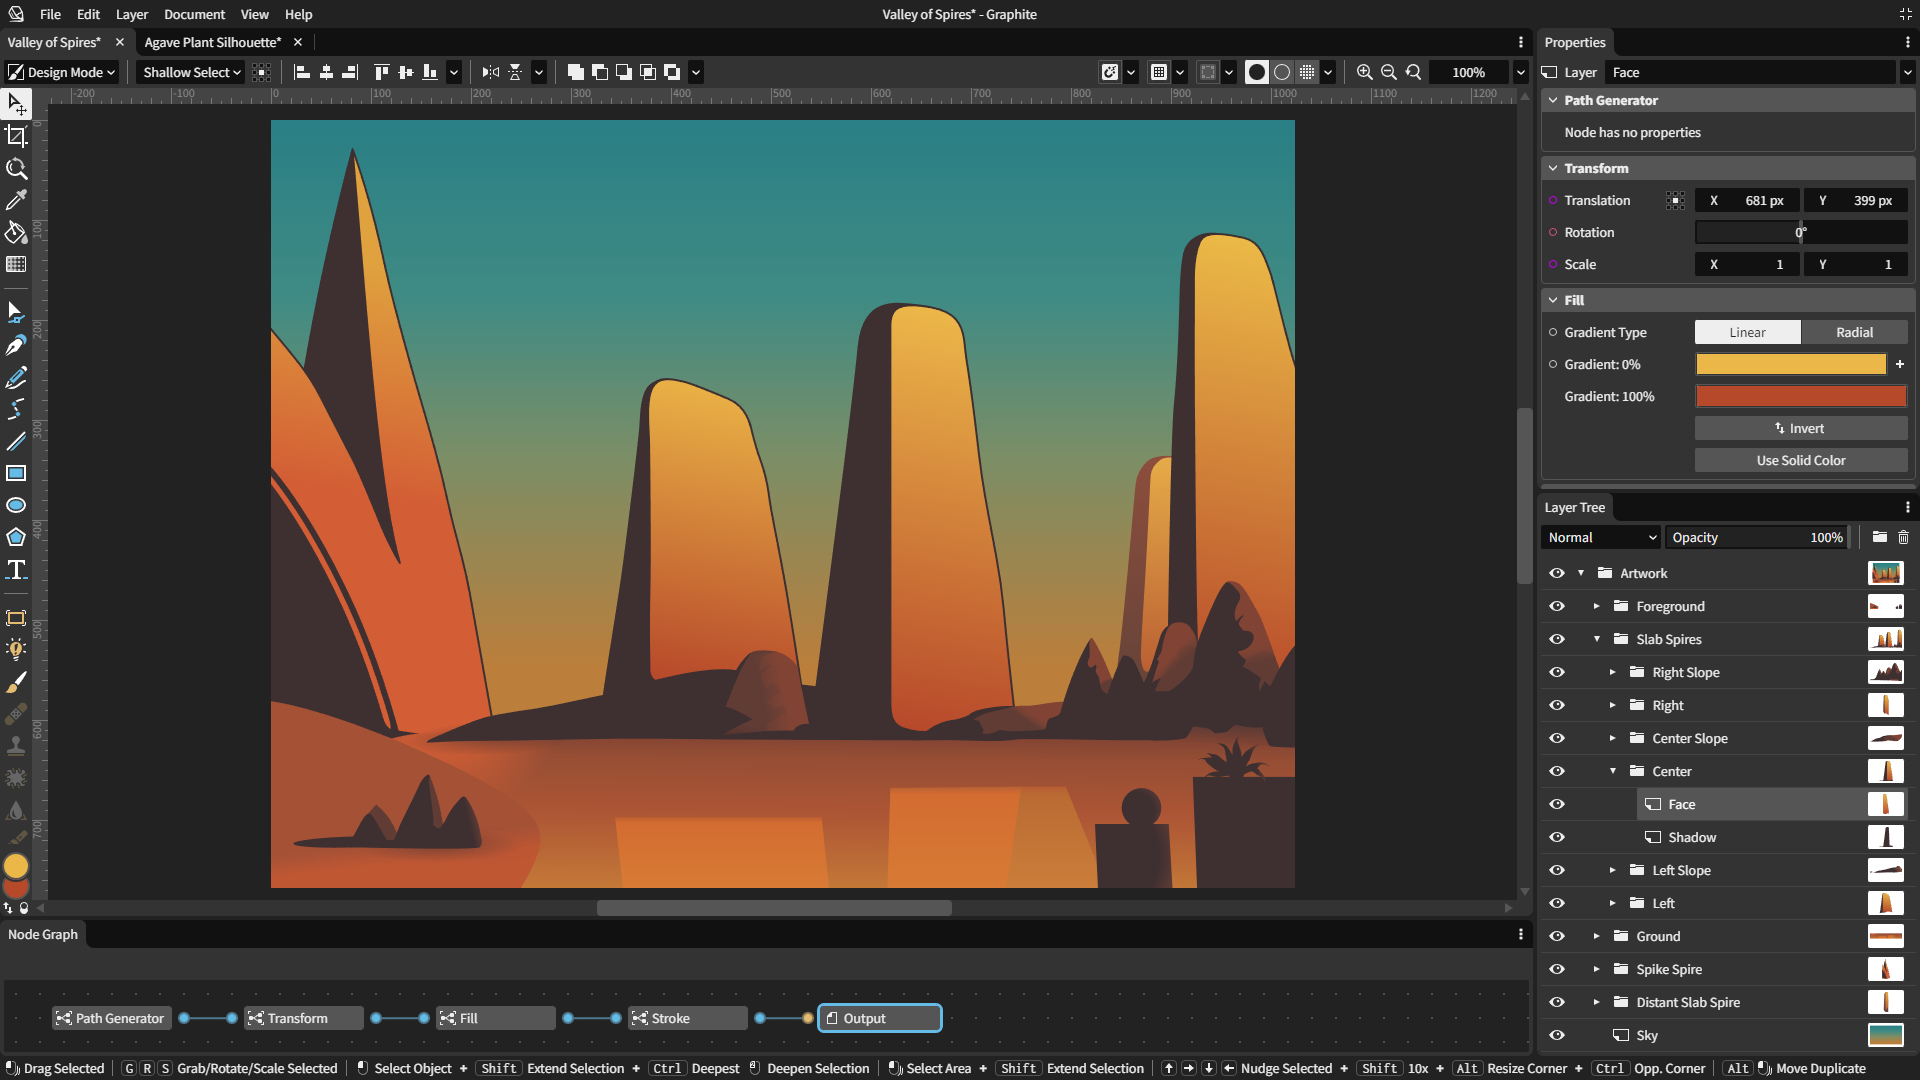
Graphic and editing
 Graphic editing. Graphic design and video editing are two distinct but related fields that involve creating visual content for various purposes.
Graphic design typically involves creating visual elements such as images, illustrations, logos, banners, and other visual assets for print or digital media. Graphic designers use tools like Adobe Photoshop, Adobe Illustrator, and other graphic design software to create visually appealing and effective designs for branding, marketing, advertising, and other purposes. They may work on projects such as creating website designs, social media graphics, packaging designs, and more.
Video editing, on the other hand, involves the process of assembling and manipulating video footage, audio, and other visual elements to create a cohesive and compelling video production. Video editors use software like Adobe Premiere Pro, Final Cut Pro, and other video editing tools to trim, rearrange, and enhance video footage, add special effects, transitions, and sound effects, and create a polished final video product. Video editors work on various types of projects, such as films, TV shows, commercials, corporate videos, and social media videos.
While graphic design and video editing share some similarities, such as the use of visual elements and design principles, they also have key differences in terms of their focus and deliverables. Graphic design primarily focuses on creating static visual assets, while video editing involves manipulating moving images and sound to create dynamic video content. However, there can be overlaps between the two fields, such as creating motion graphics, animated videos, or incorporating graphic design elements into video productions.
Both graphic design and video editing require creativity, technical skills, and a good eye for aesthetics. They are often used in conjunction to create visually appealing and engaging content for various media platforms, such as websites, social media, advertisements, and more.
Graphic editing background
![]() Here information and guidance on graphic editing as a general topic.
Here information and guidance on graphic editing as a general topic.
Graphic editing refers to the process of manipulating visual elements, such as images, graphics, and illustrations, using specialized software. It can involve various techniques, such as image retouching, color correction, image composition, and other creative effects, to enhance or transform visual content for different purposes, such as print, web, social media, marketing materials, and more.
Graphic editing typically requires specialized software, such as Adobe Photoshop, Adobe Illustrator, GIMP (GNU Image Manipulation Program), Canva, and other similar tools. These software provide a wide range of features and tools to edit and manipulate images, including adjusting brightness, contrast, saturation, cropping, resizing, layering, adding text, applying filters, and many more.
Graphic editing is commonly used in fields such as graphic design, advertising, marketing, photography, web design, and other creative industries. It requires a good eye for aesthetics, creativity, and technical skills in using graphic editing software to achieve the desired visual results.
Some common tasks in graphic editing include:
- Image retouching: Removing imperfections, blemishes, and unwanted elements from an image to enhance its appearance.
- Color correction: Adjusting the colors, brightness, contrast, and saturation of an image to achieve the desired mood or tone.
- Image composition: Combining multiple images or elements together to create a new visual composition.
- Text and typography: Adding, editing, or formatting text in an image or design, including choosing appropriate fonts, sizes, and styles.
- Image manipulation: Applying creative effects, filters, and transformations to alter the appearance of an image for artistic or design purposes.
- Image optimization: Preparing images for specific uses, such as optimizing them for web or print, by resizing, cropping, and compressing images appropriately.
Graphic editing requires a good understanding of design principles, color theory, and visual communication, as well as proficiency in using graphic editing software. It’s a valuable skill for professionals in the creative industry who want to create visually appealing and impactful visual content.
Image editing basics
 Image editing is the process of altering or enhancing digital images using software tools to achieve a desired visual result. Here are some basic concepts and techniques used in image editing:
- Cropping: Cropping is the process of removing unwanted portions of an image to improve composition or focus on a specific subject. It can be done by selecting a portion of the image and deleting the rest.
- Adjusting Brightness and Contrast: Brightness refers to the overall lightness or darkness of an image, while contrast refers to the difference between the light and dark areas of an image. Adjusting brightness and contrast can help improve the tonal balance of an image and make it visually more appealing.
- Color Correction: Color correction involves adjusting the colors in an image to correct for any color imbalances or discrepancies. This can be done by changing the saturation, hue, and/or color balance of an image.
- Sharpening: Sharpening is the process of enhancing the apparent sharpness of an image. This can be achieved by using tools like the Unsharp Mask or Smart Sharpen filter, which increase the contrast between adjacent pixels to make the image appear sharper.
- Resizing: Resizing involves changing the dimensions of an image. It can be done to make an image smaller for web or email use, or larger for printing purposes. It’s important to maintain the aspect ratio of the image to avoid distortion.
- Removing Blemishes: Image editing software often provides tools to remove blemishes, spots, or other imperfections from an image. This can be done using tools like the Spot Healing Brush, Clone Stamp, or Content-Aware Fill.
- Adding Text: Image editing software allows you to add text to an image, which can be used for captions, titles, or other purposes. You can choose different fonts, sizes, and colors for the text to match the style of the image.
- Layers and Masks: Layers and masks are advanced techniques used in image editing to apply edits selectively to specific areas of an image. Layers allow you to stack multiple edits on top of each other, while masks allow you to control the visibility of the edits in specific areas.
These are some basic concepts and techniques used in image editing. With practice and experimentation, you can become proficient in using image editing software to enhance and transform your images according to your creative vision.
Picture editing background online
- Pixlr (https://pixlr.com/): Pixlr is a free online photo editing tool that allows you to edit backgrounds in pictures. You can easily remove the background from an image, replace it with a new background, or apply various effects to enhance the background. Pixlr offers a user-friendly interface with a wide range of editing tools and features.
- Canva (https://www.canva.com/): Canva is a popular online graphic design tool that also allows you to edit backgrounds in pictures. With Canva, you can easily remove or replace the background of an image, and also add text, shapes, and other elements to create custom backgrounds. Canva offers a large collection of templates and design elements to choose from.
- Fotor (https://www.fotor.com/): Fotor is another online photo editing tool that offers background editing features. It allows you to remove or replace backgrounds in pictures, as well as apply various filters, effects, and adjustments to enhance the overall appearance of the image. Fotor also offers design templates and other creative tools for creating custom backgrounds.
- Remove.bg (https://www.remove.bg/): Remove.bg is a specialized online tool that focuses on automatically removing the background from images. It uses AI technology to precisely remove the background, leaving you with a transparent image that you can then use with other photo editing tools or replace with a new background.
Please note that some of these online tools may have free features, but also offer premium features that require a subscription or purchase. It’s always important to review the terms of service and privacy policy of any online tool before using it to ensure that it meets your needs and preferences.
Image editing canva
 As an AI language model, I don’t have the capability to perform image editing tasks directly on Canva, which is a graphic design tool. However, I can provide you with instructions on how to perform common image editing tasks using Canva.
- Upload an Image: In Canva, you can start by uploading the image you want to edit. Click on the “Uploads” tab in the left sidebar, and then click on the “Upload an image or video” button to select and upload your image from your computer.
- Crop an Image: Once your image is uploaded, you can crop it to a specific size or aspect ratio. Select your image, click on the “Crop” button in the toolbar, and then adjust the cropping handles to the desired size or aspect ratio. Click on the “Apply” button to save your changes.
- Apply Filters and Effects: Canva offers a variety of filters and effects that you can apply to your image to enhance its appearance. Select your image, click on the “Filter” button in the toolbar, and then choose a filter or effect from the options available. Adjust the settings to your liking, and click on the “Apply” button to apply the filter or effect.
- Add Text: Canva allows you to add text to your images, which can be useful for adding captions, quotes, or other text overlays. Select your image, click on the “Text” button in the toolbar, and then choose a text style from the options available. Click on the canvas to add a text box, and then type in your desired text. You can customize the font, size, color, and alignment of the text using the formatting options in the toolbar.
- Add Elements: Canva also provides a wide range of elements, such as shapes, stickers, icons, and illustrations, that you can add to your image to create unique designs. Select your image, click on the “Elements” button in the toolbar, and then choose a category of elements from the options available. Drag and drop the desired element onto your image, and resize or rotate it as needed.
- Save and Export: Once you are satisfied with your image edits, click on the “Download” button in the top right corner of the Canva interface to save your edited image. You can choose the file format (such as JPEG or PNG), the image quality, and the size of the image before downloading it to your computer.
Remember to always respect copyright laws when using images in Canva or any other image editing tool. Make sure you have the proper permissions or licenses for the images you use in your designs.
Graphic editing examples
 Here are some examples of graphic editing techniques that can be applied to images using software like Adobe Photoshop, GIMP, or other graphic editing tools:
- Image Retouching: This involves removing blemishes, wrinkles, or other imperfections from a photo to improve the overall appearance and create a polished look.
- Color Correction: This involves adjusting the colors in an image to correct for issues such as poor lighting or white balance, to achieve a more accurate and visually appealing color representation.
- Background Removal: This involves isolating the subject of an image from its background, either to create a transparent background or to replace the background with a different image or color.
- Image Manipulation: This involves altering the content of an image to create a desired effect or convey a specific message, such as adding or removing objects, changing facial expressions, or creating surreal or fantastical scenes.
- Image Composition: This involves combining multiple images to create a composite image, such as creating a panorama, a collage, or a photo montage.
- Image Filtering: This involves applying various filters or effects to an image to achieve different visual styles, such as black-and-white, sepia, or vintage looks, as well as applying artistic filters to create unique visual effects.
- Image Resizing and Cropping: This involves changing the size or aspect ratio of an image, as well as cropping out unwanted parts of an image to improve composition or focus on a particular area of interest.
- Text and Graphic Overlay: This involves adding text, logos, watermarks, or other graphic elements to an image for branding, identification, or informational purposes.
- Photo Restoration: This involves repairing or restoring old or damaged photos by removing scratches, stains, or other imperfections, and restoring them to their original quality.
- Special Effects: This involves adding special effects such as lens flares, light trails, or bokeh to an image to create a specific mood or visual impact.
These are just a few examples of the wide range of graphic editing techniques that can be applied to images to achieve different creative or functional purposes. The possibilities are virtually endless with the right tools and skills!
How can I create a free graphic design?
Creating a free graphic design typically involves utilizing online tools and resources. Here’s a step-by-step guide on how you can create a free graphic design, sohow can I start my own design and how can I get free design?
- Define your purpose: Determine the purpose of your graphic design. Are you creating a logo, social media post, poster, or something else? Understanding the purpose will help you choose the right tools and design elements.
- Choose a design tool: There are several free graphic design tools available online that you can use. Some popular options include Canva, Pixlr, Gravit Designer, and GIMP. Explore these tools and find one that suits your needs and level of expertise.
- Gather inspiration: Before starting your design, gather some inspiration. Look at other designs in your niche or similar styles to get ideas for color schemes, typography, layouts, and overall aesthetics. You can browse design galleries, Pinterest, or search for design inspiration websites.
- Create a blank canvas: Open your chosen design tool and create a new canvas with the dimensions suitable for your project. Most tools offer preset sizes for social media posts, banners, etc. Alternatively, you can set custom dimensions based on your requirements.
- Choose colors and typography: Select colors that align with your design’s purpose and convey the desired mood or message. Experiment with different color palettes and combinations. Additionally, choose appropriate fonts that complement your design. Many design tools offer a wide range of fonts to choose from.
- Add graphical elements: Depending on your design, you may want to include graphical elements such as icons, illustrations, or stock images. Some design tools provide access to free libraries of these resources, or you can search for free stock image websites like Unsplash or Pixabay.
- Design composition: Start arranging and organizing the various elements on your canvas. Consider the hierarchy of information and ensure that the design flows smoothly. Use alignment, spacing, and grouping techniques to create a visually pleasing composition.
- Enhance with effects and filters: Explore the effects and filters available in your chosen design tool. These can add depth, texture, or other stylistic enhancements to your design. However, be mindful not to overuse effects, as it can make the design appear cluttered.
- Review and refine: Once you have completed your design, take a step back and review it with a critical eye. Pay attention to details, readability, and overall coherence. Make necessary adjustments to improve the design’s visual appeal and effectiveness.
- Export and save: When you are satisfied with your design, export it in a suitable format such as PNG or JPEG. Save the file to your computer or cloud storage for future use.
Remember that while creating a free graphic design is possible, some tools and resources may offer premium features or assets that require a subscription or payment. Always check the terms and conditions of the tools and resources you use to ensure compliance with their usage policies.
Troubleshooting and FAQs
Common Graphic Editing Mistakes to Avoid Navigate the pitfalls of graphic editing by steering clear of common mistakes. Learn from the experiences of seasoned editors, ensuring your creative journey is smooth and error-free.
FAQs: Your Graphic Editing Queries Answered
- How to Choose the Right Graphic Editing Software? Dive into the considerations that guide the selection of the perfect graphic editing software for your needs.
- Are There Copyright Considerations in Graphic Editing? Understand the nuances of copyright when manipulating images, ensuring your creative endeavors remain ethical and legal.
- What Are the Key Differences Between Raster and Vector Graphic Editing? Unravel the distinctions between raster and vector editing, empowering you to choose the right format for your projects.
- Tips for Efficient Workflow in Graphic Editing Streamline your graphic editing process with expert tips on organization, efficiency, and maintaining creative flow.
- How to Stay Updated with the Latest Trends in Graphic Editing? Stay ahead of the curve by exploring avenues for staying informed about the latest trends and innovations in graphic editing.
- Troubleshooting Graphic Editing Software: Common Solutions Discover quick fixes for common issues encountered while using graphic editing software, ensuring uninterrupted creative sessions.
Conclusion
In conclusion, graphic editing is an art form that combines technical expertise with boundless creativity. Armed with the knowledge shared in this article, you’re ready to embark on a transformative journey, breathing life into your visual creations.

