Creative banners design refers to the process of creating visually appealing and engaging banners for various purposes, such as advertising, promotions, events, websites, social media, and more. A banner is a graphical element that typically includes text, images, and sometimes animations, designed to attract attention and convey a specific message or brand identity.
The meaning behind creative banners design lies in its ability to effectively communicate information, evoke emotions, and capture the interest of the target audience. Creative banners are designed to stand out from the crowd, grab attention, and leave a lasting impression on viewers.
The meaning can vary depending on the specific context and purpose of the banner. For instance, in advertising, a creative banner aims to promote a product or service, create brand awareness, and ultimately drive conversions. In events, banners are used to convey event details, generate excitement, and encourage attendance. On websites or social media platforms, banners can enhance the overall visual appeal, provide navigation cues, or highlight important information.
The key elements of creative banner design include visual aesthetics, typography, color schemes, imagery, layout, and composition. Designers use their artistic skills, creativity, and knowledge of design principles to create banners that effectively convey the desired message and align with the brand’s identity. By employing various design techniques, such as bold typography, eye-catching imagery, contrasting colors, and innovative layouts, creative banner design seeks to capture attention and engage viewers in a meaningful way.
Ultimately, the meaning of creative banners design is to combine artistry, visual communication, and marketing strategies to create visually striking and impactful banners that effectively communicate messages, promote brands, and drive desired actions.
Most Common Banner Sizes
 Creative banner design sizes can vary depending on the platform and the specific requirements of the advertiser or publisher. However, there are some common banner sizes that are widely used across different platforms. Here are some of the most common banner ad sizes:
- Medium Rectangle: 300 pixels wide by 250 pixels tall (300×250)
- Leaderboard: 728 pixels wide by 90 pixels tall (728×90)
- Wide Skyscraper: 160 pixels wide by 600 pixels tall (160×600)
- Large Rectangle: 336 pixels wide by 280 pixels tall (336×280)
- Half Page: 300 pixels wide by 600 pixels tall (300×600)
- Mobile Leaderboard: 320 pixels wide by 50 pixels tall (320×50)
- Billboard: 970 pixels wide by 250 pixels tall (970×250)
- Small Square: 200 pixels wide by 200 pixels tall (200×200)
- Vertical Rectangle: 240 pixels wide by 400 pixels tall (240×400)
- Skyscraper: 120 pixels wide by 600 pixels tall (120×600)
These sizes represent the dimensions in pixels, with the width listed first and the height listed second. It’s worth noting that these sizes may not cover all possible banner ad dimensions, as advertisers and publishers sometimes use custom sizes to fit their specific needs.
How to Make a Banner in 5 Steps
 Creating creative banner design ideas typically involves designing a visually appealing graphic that conveys a message or promotes a specific event or product. Here are five steps to help you make a banner:
- Determine the Purpose and Dimensions: Decide on the purpose of your banner, whether it’s for a website, social media, or a physical display. Consider the platform or location where it will be displayed. Determine the dimensions required for the banner based on the platform’s specifications.
- Plan the Design and Content: Visualize the overall look of your banner and plan the design elements accordingly. Decide on the color scheme, typography, and imagery that align with your purpose and message. Keep in mind that the banner should be visually appealing and easy to read from a distance or when displayed online.
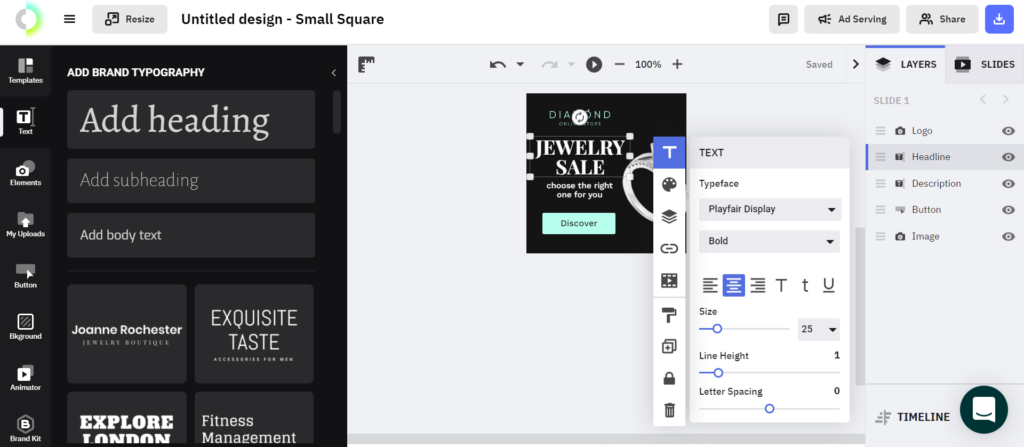
- Use Graphic Design Software: To create a professional-looking banner, you can use graphic design software such as Adobe Photoshop, Illustrator, Canva, or similar tools. These programs offer a wide range of features and templates to help you design your banner effectively.
- Design the Banner: Start designing your banner using the software of your choice. Begin by setting the canvas size to match the dimensions you determined earlier. Then, incorporate your planned design elements, such as images, logos, text, and background. Experiment with different layouts and arrange the elements in a visually balanced way.
- Export and Save: Once you’re satisfied with the banner design, save it in a suitable file format, such as JPEG or PNG. If the banner is intended for online use, optimize the file size without compromising quality. If you plan to print the banner, ensure that the resolution is high enough for a crisp output.
Remember, these steps are general guidelines, and the specific process may vary depending on the tools and software you use. With some creativity and attention to detail, you can create an attractive banner that effectively communicates your message or promotes your brand.
Choose a size
 When choosing a banner size, it depends on the specific purpose and location where you plan to display it. Here are some common banner sizes used for different purposes:
- Standard Sizes:
- 2′ x 4′ (24″ x 48″)
- 3′ x 6′ (36″ x 72″)
- 4′ x 8′ (48″ x 96″)
- Large Sizes:
- 5′ x 10′ (60″ x 120″)
- 6′ x 12′ (72″ x 144″)
- 8′ x 16′ (96″ x 192″)
- Custom Sizes:
- The size of the banner can be tailored to fit your specific needs and space. It can be smaller or larger, depending on the available area and the visibility you want to achieve.
- Retractable Banner Sizes:
- Retractable banners are commonly used for trade shows and events. The most common size for retractable banners is 33.5″ x 78.7″.
Remember to consider the location, purpose, and visibility requirements when choosing the banner size. If you are unsure, it’s recommended to consult with a professional printing service or designer who can provide guidance based on your specific needs.
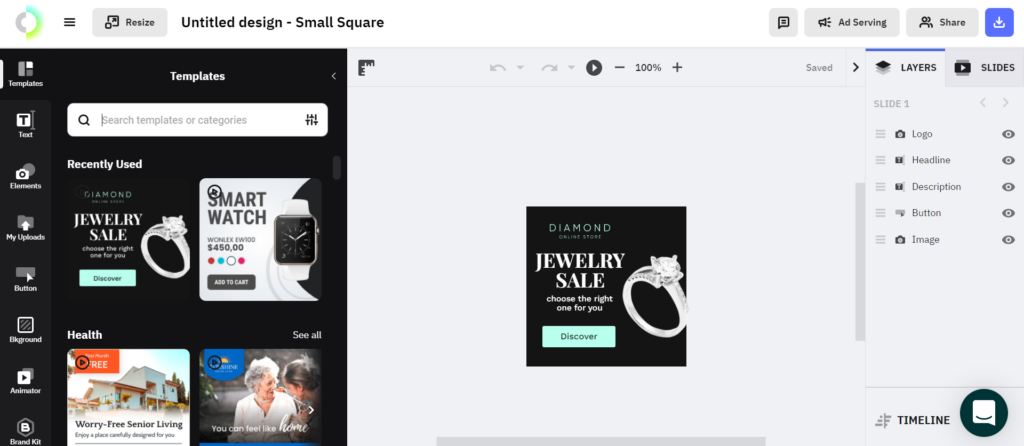
 Pick a template
When choosing a creative banner ad template, there are several factors you should consider to ensure it aligns with your needs and goals. Here’s a step-by-step guide to help you pick a suitable banner template:
- Define your purpose: Determine the purpose of your banner. Are you creating it for a website header, social media promotion, advertising, or an event? Understanding your purpose will help you select a template that suits the context.
- Identify your target audience: Consider who your target audience is and what appeals to them. The design elements, colors, and overall style of the banner should resonate with your intended viewers.
- Consider branding: If you have an established brand or specific branding guidelines, make sure the template aligns with your brand identity. Consistency in colors, fonts, and overall style will help maintain brand recognition.
- Determine the banner dimensions: Different platforms and use cases require specific banner dimensions. Ensure the template you choose matches the size requirements for your intended platform. Common banner dimensions include those for websites, social media platforms, and print materials.
- Assess design options: Browse through various sources such as graphic design platforms, stock image websites, or design software libraries to explore a wide range of banner templates. Look for templates that catch your eye and align with your purpose and audience.
- Review customization options: Consider whether the template allows for customization. Some templates may be more flexible, allowing you to modify colors, fonts, images, and text to better suit your needs. Flexibility in customization will enable you to create a unique banner.
- Evaluate visual appeal: Pay attention to the overall aesthetic of the template. Look for a visually appealing design that balances elements such as images, text, and whitespace. Ensure the template’s style matches your desired tone, whether it’s professional, modern, minimalistic, or bold.
- Read user reviews: If you’re selecting a template from a marketplace or design software, read user reviews or ratings. Feedback from other users can provide insights into the template’s quality, ease of use, and suitability for different purposes.
- Test responsiveness: If you’re creating a banner for a website or digital advertising, check if the template is responsive. A responsive design will ensure your banner looks good on various screen sizes and devices.
- Compare multiple options: Don’t settle for the first template you find. Compare multiple options that meet your criteria and compare their features, design, and customization options. This will help you find the best template that suits your needs.
Remember, selecting the right banner template is an important step, but customization and personalization are equally crucial to make it truly unique and effective for your specific purpose.
Personalize Your banner
 To personalize your best banner ads, follow these steps:
- Determine the Purpose: Clarify the purpose of your banner. Are you using it for a party, event, business promotion, or personal celebration? This will help you tailor the design and message accordingly.
- Define the Message: Decide on the text you want to include in your banner. It could be a catchy slogan, event details, a special offer, or any other information you want to convey. Keep it concise and easy to read.
- Choose Colors: Select colors that align with your purpose or branding. Consider using your brand colors or complementary hues to make the banner visually appealing. Ensure the text color contrasts well with the background to enhance legibility.
- Select Fonts: Pick fonts that are easy to read and match the overall style of your banner. Play around with different font combinations to find a visually pleasing combination for your message.
- Add Graphics or Images: Decide if you want to include any graphics, images, or a logo on your banner. If it’s for a personal celebration, consider using photos that are relevant to the occasion. For business purposes, use high-quality graphics that represent your brand or the event.
- Determine Size and Format: Determine the dimensions of your banner based on where it will be displayed. If it’s for online use, consider the pixel dimensions, and if it’s for printing, determine the physical size. Choose a file format that suits your needs, such as JPEG, PNG, or PDF.
- Use Design Tools: There are several design tools available online that can assist you in creating personalized banners. Some popular options include Canva, Adobe Spark, or professional design software like Adobe Photoshop or Illustrator. These tools provide templates, graphics, and editing capabilities to help you create a custom banner.
- Design and Customize: Start designing your banner using your chosen design tool. Utilize the customization options to adjust colors, fonts, and layout. Add your text, graphics, and images according to your plan. Experiment with different variations until you achieve the desired look.
- Proofread and Review: Before finalizing your banner, carefully proofread the text to ensure there are no spelling or grammatical errors. Review the overall design to check for alignment, spacing, and visual balance. It’s always a good idea to get a second opinion from someone else to ensure your banner looks professional.
- Save and Distribute: Once you are satisfied with your personalized banner, save it in the appropriate file format. If it’s for online use, you can directly upload it to your website or social media platforms. If you’re printing it, make sure to use high-resolution settings and choose a reliable printing service.
Remember, the key is to create a banner that effectively communicates your message and captures the attention of your target audience. Have fun designing and enjoy the process!
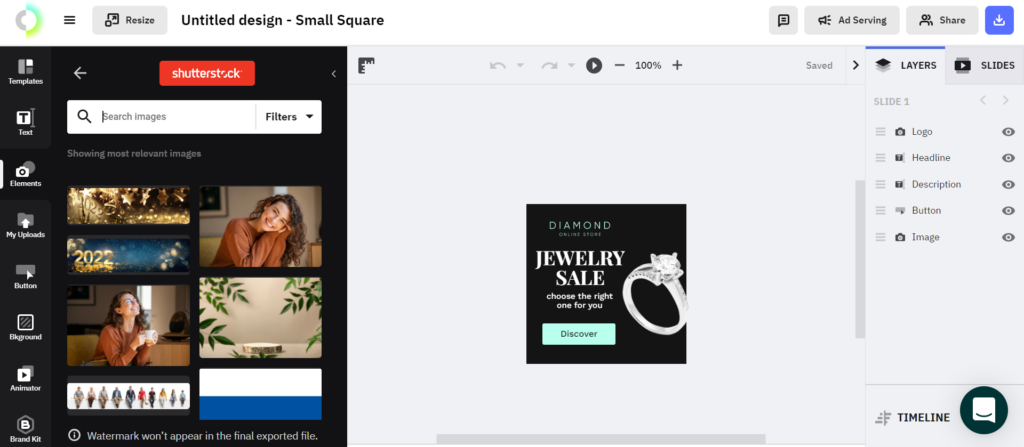
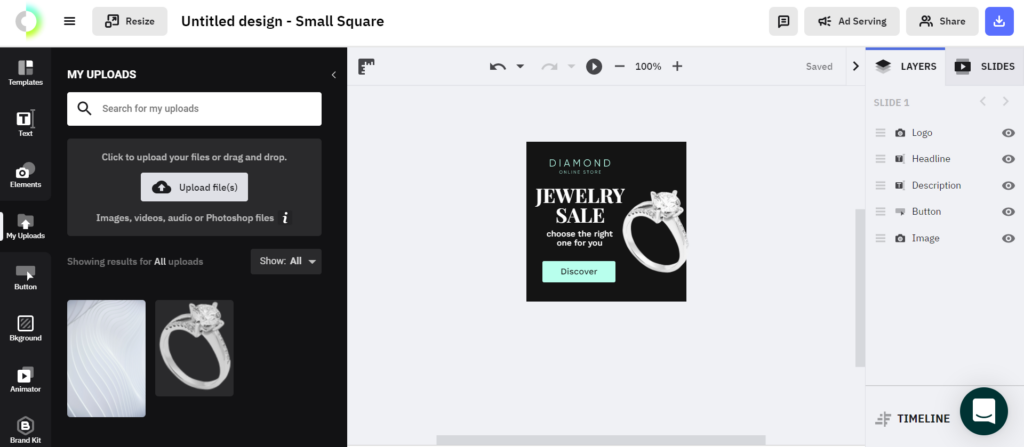
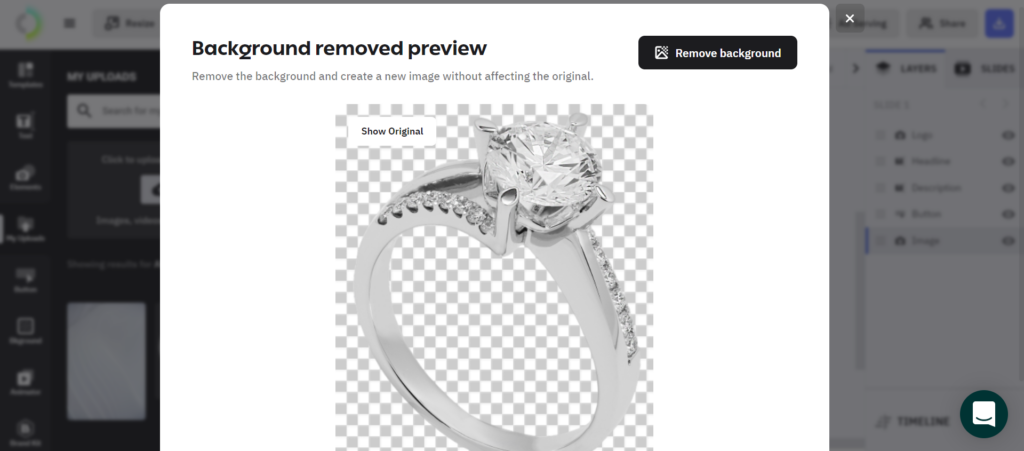
Add images to your banner
To add images to your banner, you can follow these general steps:
- Determine the software or tool you’ll use: Depending on the context, you may use graphic design software like Adobe Photoshop, Illustrator, or online tools like Canva or Pixlr. Choose the one that suits your needs and familiarity.
- Set up your banner: Decide on the dimensions and layout of your banner. Consider the platform or medium where it will be displayed to ensure the appropriate size and aspect ratio.
- Find or create the images: You can either use your own images or search for suitable ones online. Ensure you have the necessary permissions or licenses if using copyrighted material. If you need to create images, graphic design software or online tools can help you design custom visuals.
- Import the images: Open your chosen software/tool and create a new project or open an existing one. Then, import the images you want to include in your banner. Most software allows you to import images via a menu option like “File > Import” or by dragging and dropping the files into your canvas.
- Arrange and resize the images: Position and resize the images within your banner layout. You can use tools like selection tools, layers, and transformation options to manipulate the images and achieve the desired placement.
- Enhance and edit the images (optional): Depending on your preferences, you may want to apply various effects, filters, or adjustments to the images. Explore the software/tool’s features to enhance the visual appeal of your images.
- Add text or other elements (optional): If desired, you can overlay text, shapes, or additional graphical elements on top of the images to convey your message or branding. Use the software/tool’s text and shape tools to create and position these elements.
- Save your banner: Once you’re satisfied with the composition, save your banner project in a format that preserves the layers and allows for further editing if needed. Common formats include PSD (Photoshop), AI (Illustrator), or native project files of the online tool you’re using.
- Export the final banner: When you’re ready to use the banner, export it to a suitable format, such as JPEG or PNG. Consider the platform’s requirements or recommendations regarding image format, file size, and resolution. Save a copy of the exported banner for future use.
Remember to refer to the specific documentation or tutorials of the software or tool you’re using for detailed instructions tailored to that particular program.
FAQs: Demystifying Creative Banners Design
Q: How crucial is color selection in banner design? Color selection is pivotal as it sets the tone for your brand. Choose colors aligned with your brand personality to evoke the desired emotional response.
Q: Can I design my banners without professional software? Absolutely! Many user-friendly online tools can help you design striking banners without the need for professional software.
Q: Are interactive banners suitable for all industries? While interactive banners can be engaging, suitability depends on your industry and target audience. Consider your brand image and audience preferences.
Q: What is the ideal banner size for online advertisements? The ideal size varies, but common standards include 300×250 pixels for inline banners and 728×90 pixels for leaderboard banners. Adapt based on the platform and placement.
Q: How often should I update my banners? Regular updates keep your brand fresh. Consider seasonal changes, promotions, or product launches to ensure your banners stay relevant.
Q: Are there copyright considerations in using images for banners? Absolutely. Ensure you have the rights to use any images in your banners, or opt for royalty-free images to avoid legal issues.
Conclusion
In the dynamic digital landscape, mastering Creative banners design is the gateway to captivating your audience. This guide has equipped you with insights to transform your banners into compelling visual narratives. Elevate your brand’s visual presence and make an indelible mark in the minds of your audience.